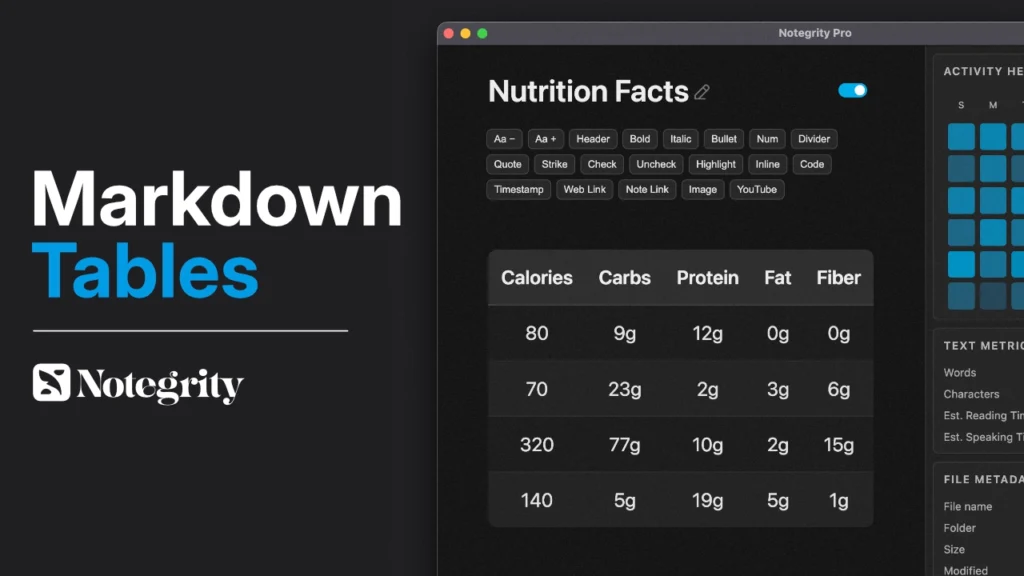
How To Create Markdown Tables with Plain Text Syntax
How To Create Markdown Tables with Plain Text Syntax https://notegrity.com/wp-content/uploads/2026/03/markdown-tables-1024x576.webp 1024 576 Notegrity https://secure.gravatar.com/avatar/28c6b800ab522934fd98496116fd26358e41cec02c12d671aa4968ff5f82e99d?s=96&d=mm&r=gIn this tutorial you’ll learn how to make markdown tables using nothing but plain text syntax. This lesson utilizes a standardized markdown language, so the syntax used will apply regardless of which markdown editor you may be using. The tables will be rendered with Notegrity, which utilizes the Marked compiler.
Markdown tables allow you to organize plain text data inside a structure of rows, columns, and cells, making it easier to navigate and visualize its contents (although it can get a little messy in plain text). Let’s dive in.
Markdown Tables Video Tutorial
Watch our video tutorial for complete step-by-step instructions on how to create markdown tables:
Table Of Contents
- Creating The Header Row & Column Labels
- Adding The Separating Row
- Inserting Table Rows
- Aligning Table Contents
Common Mistakes To Avoid
Creating The Header Row & Column Labels
To get started with making our markdown table, we first need to create a header row. This is where the number of columns will be defined and the labels for each will be applied.
First, press the pipe key to generate a vertical bar, insert a space after it, then write a name for this column’s label. Then, add another space and close it with another pipe. For this demonstration, I will use “calories”. Here’s how it should look:
| Calories |
Now, we’ll repeat this process with the remaining columns and their respective labels:
| Calories | Carbs | Protein | Fat | Fiber |
Make sure to keep track of how many columns you’ve created because you’ll need to match that number of columns for each subsequent row, otherwise your table may break.
Adding The Separating Row
At this point, the header row of our markdown table is complete, but the table will not render in markdown yet because we haven’t added the separator row, which is crucial.
On the next line, enter a dash wrapped in pipes for each column in your header row. So for our example, we created 5 columns, so we’ll need to add 5 dashes, each wrapped in pipes:
| Calories | Carbs | Protein | Fat | Fiber |

|-|-|-|-|-|
If you want to make the plain text side look more visually appealing, you can add multiple dashes to make the pipes visually align, but bear in mind that this only works if your editor uses a monospace-style font:
| Calories | Carbs | Protein | Fat | Fiber |

|----------|-------|---------|-----|-------|
Now, you can enable markdown preview to see that the header row of your markdown table has rendered:

With the separator row added, the table now renders in markdown.
Inserting Table Rows
Now that we have the header row and separator row in place, we can start adding new rows and inserting the data into them.
To do this, simply wrap each cell in a pipe which making sure to insert a space before and after its contents:
| Calories | Carbs | Protein | Fat | Fiber |

|-|-|-|-|-|

| 80 | 9g | 12g | 0g | 0g |

| 70 | 23g | 2g | 3g | 6g |

| 320 | 77g | 10g | 2g | 15g |

| 140 | 5g | 19g | 5g | 1g |
Once rendered in markdown, it should look something like this:
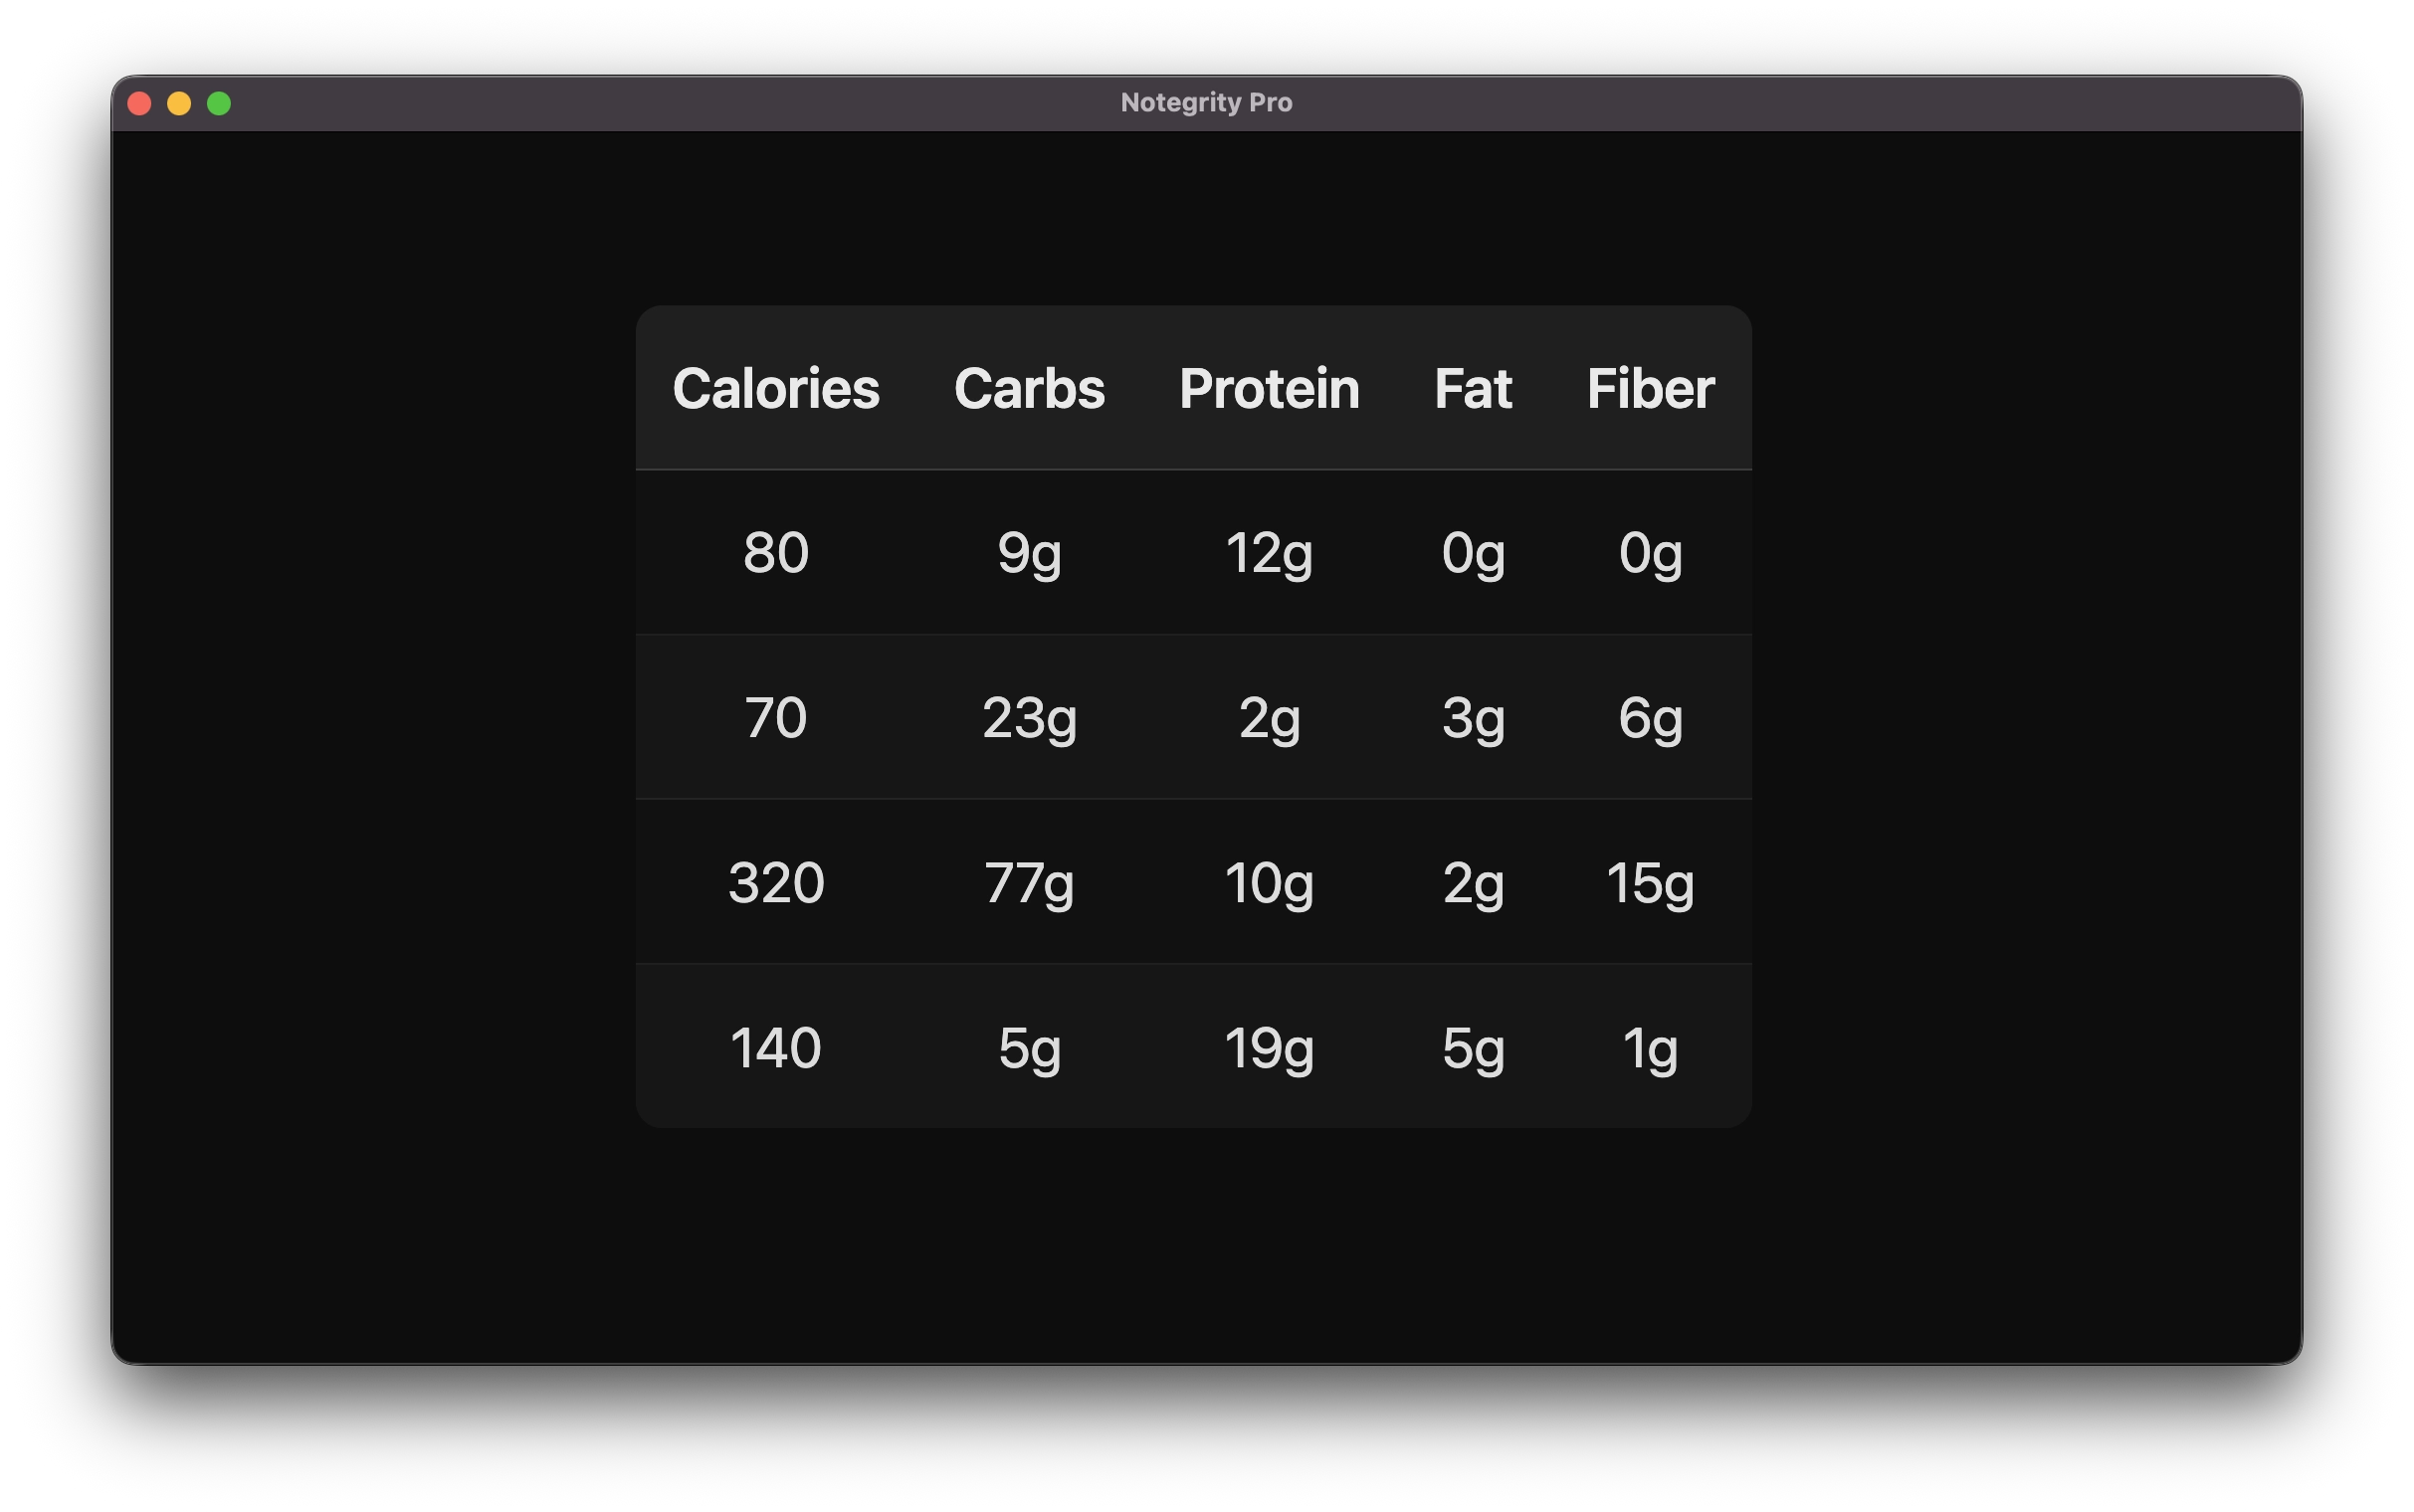
How the completed markdown table looks when rendered with all of its data.
Aligning Table Contents
By default, table contents are automatically centered in Notegrity. This isn’t the case with other markdown parsers though, and you may want to align them manually, so let’s address how that can be accomplished.
To align the contents in your markdown table, you’ll have to insert a colon symbol in the separator row according to how you’d like the row be be aligned.
To align your column’s contents to the left, insert the colon to the left of the dash(es) in the separator row:
| Calories | Carbs | Protein | Fat | Fiber |

|:---------|:------|:--------|:----|:------|
To center align the contents, insert colons both before and after the dash(es):
| Calories | Carbs | Protein | Fat | Fiber |

|:--------:|:-----:|:-------:|:---:|:-----:|
And to align the contents to the right, use only a single colon and insert it to the right of the dash(es):
| Calories | Carbs | Protein | Fat | Fiber |

|---------:|------:|--------:|----:|------:|
Common Mistakes When Making Markdown Tables
Now let’s address some common problems you may run into when creating tables in markdown.
Mismatching Numbers Of Columns
The most common problem you’ll encounter when creating tables in markdown is having inconsistent numbers of columns in your rows— whether it be because you miscounted or you forgot to insert a pipe between columns/cells.
If you add a row that has more columns than the header row, the additional columns will either be cut out or your table will break (depending on your parser.)
Additionally, if you end up removing a column without replacing it — meaning you have fewer columns than your header row — the contents of the row will continue in their natural sequences going from left to right, meaning you may end up shifting data into the wrong columns.
This is why it’s important to stay diligent in making sure that you have the same number of pipes in each row.
Forgetting The Separator Row
Another common mistake when creating markdown tables is forgetting to add the separator row.
The separator row is important because, without it, the text no longer registers as a table and your parser won’t render it. So make sure to always add your separator row.
Using Pipes Inside Of A Cell
Finally, you may find yourself wanting to use a pipe symbol inside of a cell. However, this doesn’t work as expected because, in markdown, pipes tell the parser to close the cell and create a new one.
To work around this, simply prefix your pipe with a backslash symbol so it looks like “\|“.
Questions?
If you have questions or need any kind of clarification when it comes to creating markdown tables using plain text syntax, just leave a comment below!
Leave a Reply